Water damage can happen when you least expect it. A burst pipe, an overflowing appliance, heavy rain, or a hidden leak can quickly turn into a stressful situation. When water enters your home, every minute matters. Knowing what to do right away can make a major difference in how much damage occurs and how difficult the recovery process becomes.
This guide walks you through exactly what to do after water damage, step by step, in a way that is easy to understand and practical for real homeowners.
Step 1: Make Sure Everyone Is Safe
Before worrying about damage or cleanup, your first priority should always be safety.
If water is entering your home, look for possible electrical hazards. Water and electricity do not mix. If there is standing water near outlets, appliances, or electrical panels, avoid those areas and shut off power if it is safe to do so. If you are unsure, stay out of the area and wait for a professional.
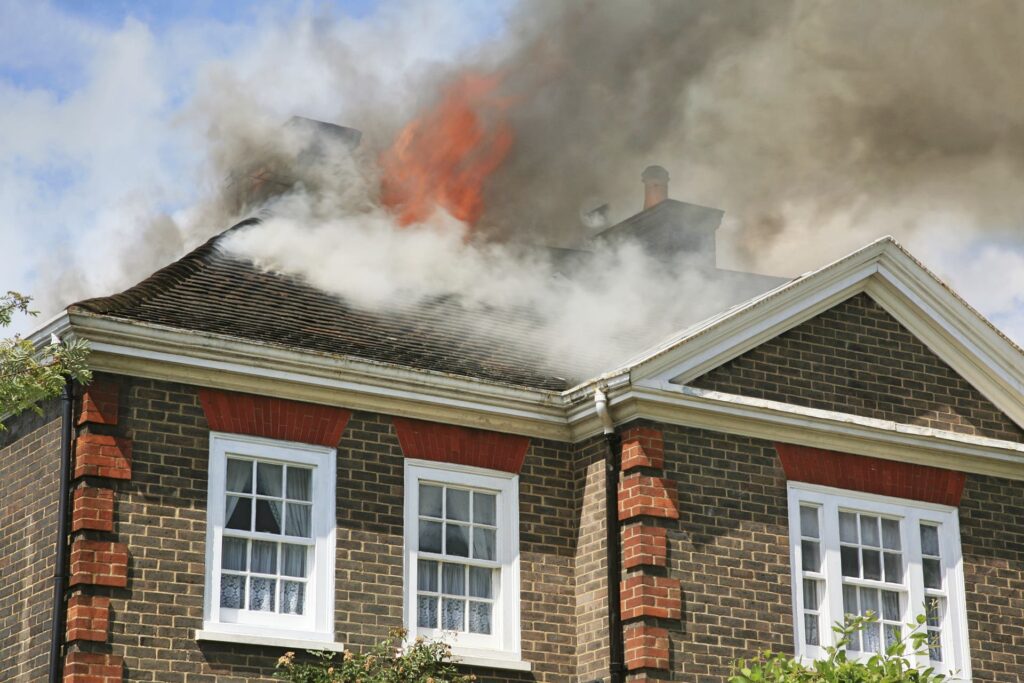
If the damage came from a storm or flooding, check for structural concerns. Sagging ceilings, soft floors, or shifting walls can indicate serious issues. If the home does not feel safe to be inside, leave the property and seek help immediately.
Step 2: Stop the Source of the Water
Once safety is confirmed, the next step is stopping the water at its source if possible.
If the issue is a burst pipe or plumbing failure, turn off the main water supply to your home. Most shutoff valves are located near where the water line enters the house or near the water heater.
If the water is coming from an appliance like a washing machine or dishwasher, shut off the appliance and disconnect it if it is safe.
If the damage is caused by rain or storms, you may not be able to stop the water completely, but taking temporary steps like placing containers under leaks or covering exposed areas can help reduce further damage.
Stopping the water quickly limits how far it spreads and reduces the amount of moisture that soaks into floors, walls, and furniture.
Step 3: Document the Damage Right Away
Before beginning cleanup, take time to document what happened.
Use your phone to take clear photos and videos of all affected areas. Capture standing water, damaged floors, walls, ceilings, furniture, and personal belongings. This documentation is important for insurance purposes and helps create a clear record of the damage.
Do not throw anything away yet unless it poses a safety risk. Even damaged items can help show the full extent of the loss later.
Many homeowners skip this step because they want to clean right away, but documentation can make a major difference if you need to file a claim or explain what happened.
Step 4: Remove Standing Water If It Is Safe
After documentation, removing standing water becomes a priority.
Small amounts of water may be removed using towels, mops, or a wet vacuum if you have one. Open doors and windows if weather conditions allow to help with air circulation.
However, if there is a large amount of water or flooding, do not attempt to remove everything yourself. Professional equipment is designed to extract water safely and thoroughly without causing additional damage.
The goal at this stage is to prevent water from continuing to soak into materials, not to complete full restoration on your own.
Step 5: Begin Drying Affected Areas
Drying is one of the most important parts of preventing long term damage.
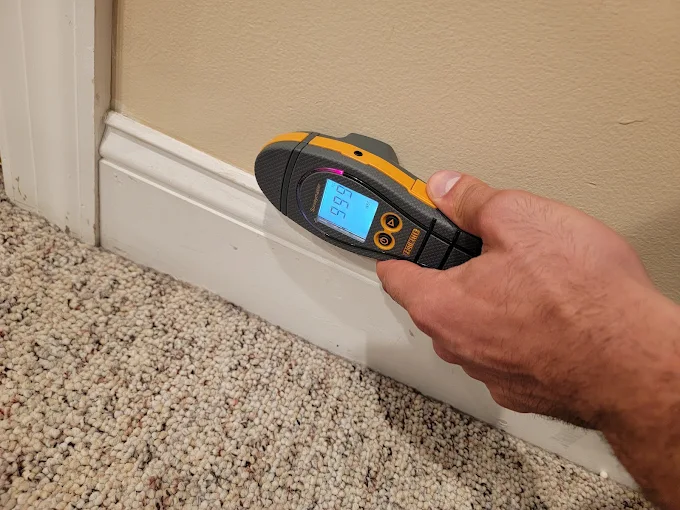
Use fans to increase airflow across wet areas. Dehumidifiers help remove moisture from the air, which supports faster drying. Focus on wet floors, baseboards, and lower portions of walls where water often settles.
Be aware that surfaces may look dry while moisture remains trapped inside walls or under flooring. This hidden moisture is what leads to mold growth and structural problems later.
Drying should continue until moisture levels are fully reduced, not just until things feel dry to the touch.
Step 6: Protect Belongings and Furniture
Move furniture, rugs, and personal items out of wet areas when possible. Place aluminum foil or plastic under furniture legs to prevent staining and further moisture absorption.
If items are wet, avoid stacking them together. This traps moisture and slows drying. Spread items out and allow air to circulate.
For valuable or sentimental belongings, avoid aggressive cleaning methods. Improper handling can cause additional damage. Professional restoration services are often able to clean and restore items that appear damaged at first glance.
Step 7: Watch for Early Signs of Mold
Mold can begin growing within a short time when moisture is present.
Be alert for musty smells, discoloration on walls or ceilings, or areas that remain damp longer than expected. These are early warning signs that moisture is not fully removed.
Even if mold is not visible, it can still be growing behind walls or under floors. This is why proper drying and moisture monitoring are critical after water damage.
Addressing moisture early reduces the risk of mold becoming a larger and more expensive problem later.
Step 8: Avoid Common Mistakes Homeowners Make
Many homeowners unintentionally make water damage worse by trying to fix everything too quickly.
One common mistake is relying only on household fans or heaters. These methods can dry surfaces but often leave moisture trapped inside materials.
Another mistake is removing drywall or flooring without understanding how water has spread. This can disturb hidden moisture and make cleanup more difficult.
Some homeowners also delay calling professionals, hoping the issue will resolve on its own. Unfortunately, water damage rarely improves without proper intervention.
Knowing when to step back and ask for help can save time, money, and stress.
Step 9: Know When to Call a Water Damage Restoration Professional
If water damage affects more than a small area, professional restoration is strongly recommended.
Restoration professionals use specialized equipment to locate hidden moisture, remove water thoroughly, and dry structures properly. They also understand how water behaves inside buildings and how to prevent secondary damage.
Calling a professional early often reduces the total amount of damage and shortens the recovery timeline. It also provides peace of mind during a stressful situation.
If you are unsure whether professional help is needed, it is better to ask than to wait.
Step 10: Focus on Prevention Moving Forward
After the immediate issue is under control, take time to reduce the risk of future water damage.
Inspect plumbing regularly and address leaks early. Maintain gutters and downspouts to direct water away from the home. Make sure appliances are installed properly and replaced when they show signs of wear.
Consider installing water detection devices in areas prone to leaks. These small tools can alert you early and prevent major damage.
Prevention does not eliminate all risk, but it greatly reduces the chances of another emergency.
Final Thoughts
Water damage is overwhelming, especially when it happens suddenly. Knowing what to do in the first hours after water enters your home gives you control in an otherwise stressful situation.
By focusing on safety, stopping the water, documenting damage, drying properly, and knowing when to call professionals, you protect both your home and your peace of mind.
If you ever feel unsure about what to do next, it is always better to get expert guidance. Acting early is the key to minimizing damage and restoring your home safely and efficiently.